A wood turning table can be purchased to make your own lathe. This machine allows you to make beautiful pieces of art by creating intricate shapes. Read this article to learn the most important features you need before you purchase. Be sure to consider: Rotational speeds, Spindle roughing gauge, Respiratory equipment and other factors before buying.
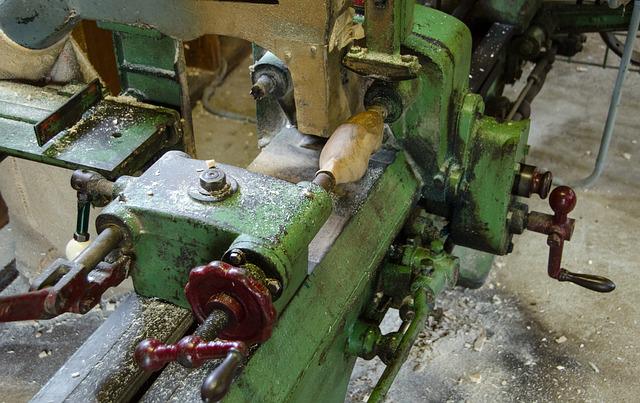
Lathe
Before you buy a wood lathe, make sure that you choose the right one to suit your needs and budget. It is important to know the horsepower of your machine. This determines how fast it spins so that you can finish projects quicker. Also, it is important to regulate the motor, so be sure to check the voltage of your power source. To protect your investment, ensure that the table has the correct power source and a valid warranty.
It is also important to consider the swing and diameter of your lathe. For example, a 15-inch diameter lathe can turn an item up 15 inches in diameter. However, you'll need 7 1/2 inches between your spur center and the bed surface. Lathes usually have a swing range from 10 to 17 inches. You should swing higher if your items are larger than 10 inches. A large-sized swing will be necessary if you plan to turn large diameter items a lot.
Rotational speed
First, determine your purpose before you choose the RPM range that is best for your table. You should choose a lower RPM range if you intend to do heavy roughing cuts than if the purpose is to make finer finishes. A higher RPM range is recommended for wood with damaged or deteriorated condition.
The surface speed concept is used to calculate your wood-turning desk's RPM. It is the speed at wood moves past a cutting edge. The suggested range runs from the lower to the highest end at 18 miles per an hour. At the top, it is around 2,500 foot per minute or more than nine thousand RPM. There are also safety and balance considerations. If you are a beginner, you may want to use a lower RPM for safety purposes.
Spindle roughing gouge
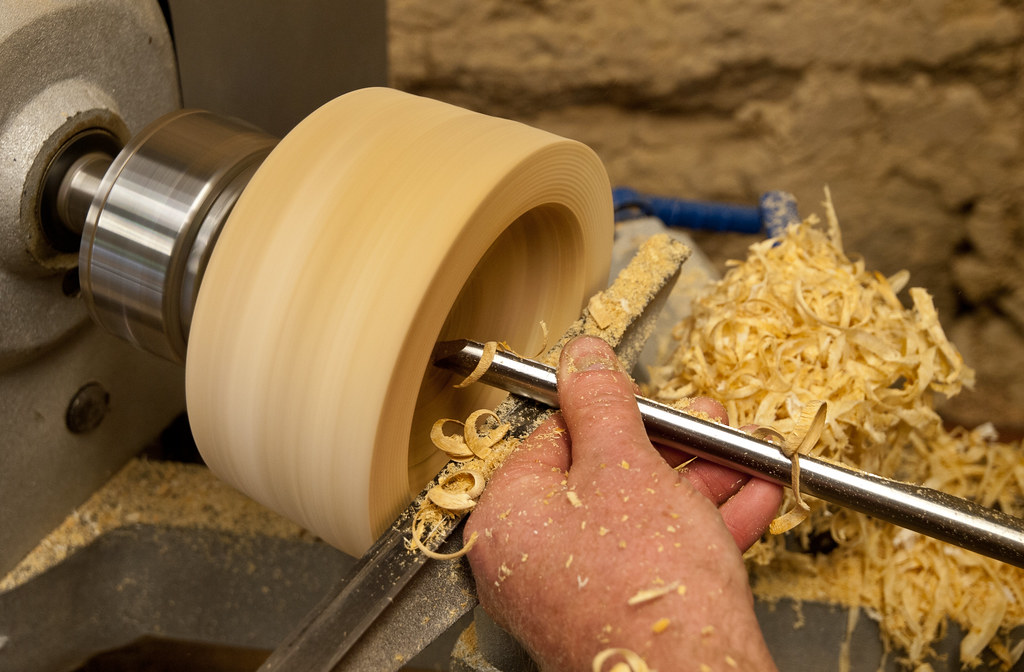
The spindle roughing tool is versatile and can be used to create concave shapes or tapers. Start in the middle of a square and then use the spindle-roughing gouge to cut away any corners. Next, you will need to shape the tool's profile by grinding and honing. The final step is to attach the edge to the shape.
There are three sizes of roughing gouges: large, medium, or small. A 3/4-inch roughing gouge is the best size for beginners. It will make it easier to turn spindles from large pieces of splitwood. M2 High Speed Steel will keep its edge for many turns. A larger gouge can be used for larger projects. However, a smaller one works for most spindle turn projects.
Respiratory equipment
If you're a woodturner, you'll need to wear protective gear such as safety goggles, glasses, or a visor. A visor that covers your entire head is the best protection. A tabletop that turns quickly is a nice touch, but you need to take responsibility for your own health. Protecting yourself against harmful particles and airborne particles requires respiratory equipment.
A good mask is essential to protect your lungs from fine wood dust. For wood dust protection, paper dust masks do not suffice. Multi-level dust protection is necessary. It filters the air inside your shop and provides personal protection. There are many choices on the market: full-face respirators or filters. This will protect your workshop from fine wood dust.
Misapplying a technique or using the wrong tool

You can make many mistakes when turning wood. These mistakes can lead to serious injuries, or worse, death. You can avoid making these errors by learning about woodturning safety. Follow all safety guidelines and instructions from the manufacturer. Consult an expert if you are unsure. For any questions or concerns, a woodturning specialist is the best person you can consult.
While turning wood, be aware of your swing and the cutting edges. The cutting edge of a bowl gouge is only a small portion of the total surface area. Do not make too many bowl turning passes. This can cause the wood to grab and engage too much of your cutting edge. Instead, make slow, steady passes to achieve your desired shape. A bad technique or the wrong tool could lead to poor results and failure to get the results that you desire.
FAQ
Where can I find my woodworking tools?
There are many places where you will find everything that you need. You could shop at your local hardware store or go online to Amazon.com.
You can also search flea and garage sales for furniture and other materials that can be reused.
Is it difficult to start my woodworking business?
It is difficult to start your own woodworking company. There are many laws and regulations you need to be aware of. However, it doesn't necessarily mean you must go through all the hassle of setting up a business. Many people choose to join existing businesses. You only need to pay membership and tax fees.
What are the basics of woodworking?
You can start building furniture by making a bench. This project can be completed with whatever wood you have available at home. If you're not sure which kind of wood to choose, you can purchase cheap pine boards at Lowes and Home Depot. After you've constructed your bench you'll want sand all the rough edges off and varnish it.
Statistics
- Overall employment of woodworkers is projected to grow 8 percent from 2020 to 2030, about as fast as the average for all occupations. (bls.gov)
- The best-paid 10 percent make $76,000, while the lowest-paid 10 percent make $34,000. (zippia.com)
- Woodworkers on the lower end of that spectrum, the bottom 10% to be exact, make roughly $24,000 a year, while the top 10% makes $108,000. (zippia.com)
- The U.S. Bureau of Labor Statistics (BLS) estimates that the number of jobs for woodworkers will decline by 4% between 2019 and 2029. (indeed.com)
External Links
How To
How to stain wood
Stain wood is a process that involves applying chemicals to the surface of wood, which changes its color. This chemical reaction changes the wood's color from white to brownish. Although oak is the most popular type of wood to stain, there are many other types that can be used.
There are many methods to apply stain to wood surfaces. Some methods include mixing the stain along with a solvent like turpentine and then applying the mixture to the wood by brushing or spraying. Others use a solution made up of water and dye, which is then applied directly onto the wood. It is possible to mix stain into varnishes and paints, making it part of the finishing coat.
The first step in staining wood is preparing the surface. The wood must be thoroughly cleaned to remove all grease and dirt. Sanding the wood removes scratches and imperfections. Then you must decide what kind of stain you want to use. There are two types of stains that can be used: penetrating and non-penetrating. Penetrating stains penetrate deeper into the wood than non-penetrating ones, making them ideal for dark colors such as mahogany. Penetrating stains are best paired with lighter colors, such as maple.
After choosing the type and application method you prefer, gather your tools. You can use a paintbrush to apply stains. This allows you spread the liquid evenly over the surface. It is a good idea to have rags on hand in case you need them to clean up any stains that may remain after you have finished painting. If you plan to mix the stain yourself, make sure you have enough containers available to hold the different components of the mixture.
After you have prepared your materials, clean the area you intend to stain. Use soap and warm water to remove dust and grime. Wipe down all furniture pieces with a dampened cloth and clean water. Be sure to get rid of all loose material, especially if staining is planned for darker wood.
Next, spray the stain. The stain can be applied by spraying or brushing the stain onto one end of the furniture. You should work slowly and carefully. Continue moving along the grain until you reach your opposite end. Be careful not to let the stain drip off the wood's edge. Allow the stain to dry completely before you move on to the next step.
To protect the painted surface, apply a coat of clear polyurethane sealant. Apply three coats of polyurethane sealer. Allow the third coat of polyurethane sealer to dry overnight before applying the final coat.