
This eBook will show you nine essential woodworking tricks that professional woodworkers use. The eBook includes detailed instructions as well as videos for each technique. Additionally, you will learn how to make a Dovetail jig. With this eBook, you can create a perfect Dovetail every time! Let's first look at common mistakes beginners make. Keep reading to learn how to avoid these common mistakes.
Dowel trick
Dowels are a wonderful tool in woodworking. It can be used to make a perfect center for drilling holes in your boards. You can dry-fit two pieces by using the ends a dowel to serve as a centre. You can dry-fit two pieces by inserting a dowel in each hole of each board and aligning the dowel centers.

Cleaning up glue
Although glue is a useful tool for woodworking and can be used to fix problems, its cleanup is difficult. While glue can be removed by rubbing your hands together, too much glue can cause wood swelling. Avoid getting glue on your work. You will see the results when you are done. Instead, use sawdust as a barrier between wood and glue.
Story stick
The first of the many tricks of the trade for woodworking with story sticks is measuring accurately. You can use a story stick to help you identify any obstructions that may be preventing your base cabinet placement. This includes walls, plumbing, wiring, and other obstacles. This will help you to plan where to put your cabinets. By using a story stick as a template, you can make your projects easier. Here are more tricks to making woodworking with story sticks easier:
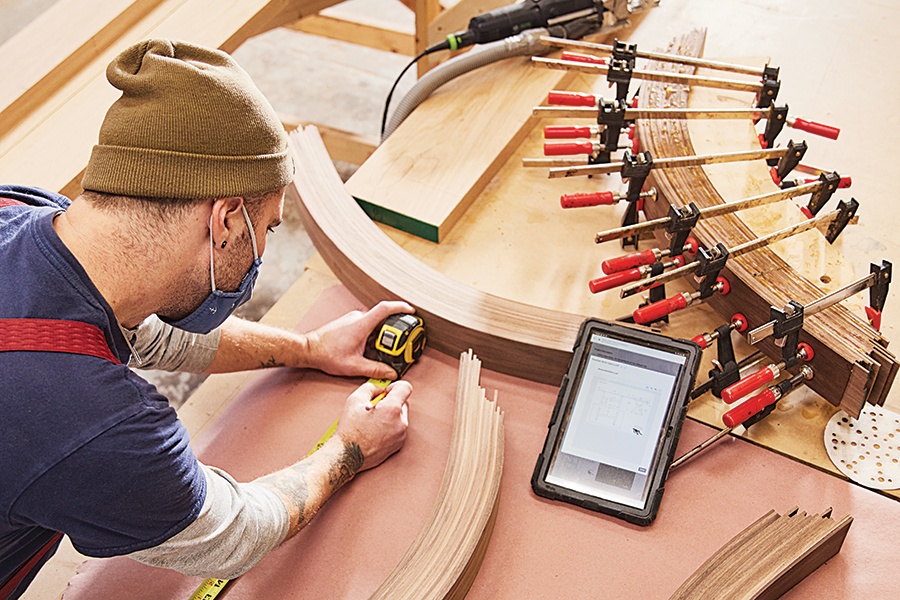
Dovetail jig
The dovetail-jig is just one tool you can use when woodworking. You can make many types of joints using one tool. The jig can be used to make both inside and outside dovetails. The jig is strong and won't heat up even when it is used often. You can purchase it in many styles but remember that the more versatile it is, the more costly it will be.
Tip for the toenail
The toenail tactic is a woodworking technique that will help you save lots of time. When framing a piece, you need to know where to start and where to angle the nail. It is important to angle the nail downwards at 45 degrees. As you hold the board, visualize the nail’s path. Use your toe to hold the board in place and drive the nail at the right angle.
FAQ
What time does it take for furniture to be finished?
It depends on what size piece of furniture you have. Boxes and picture frames are small projects that can be completed in one day. Larger projects, such as desks and dining tables, can take several days. It takes time and effort to properly stain the wood.
Is it possible to open my own woodworking shop?
It can be difficult to start your woodworking business. There are many laws and regulations you need to be aware of. It doesn't mean that you have to go through the entire process of starting a business. Many people decide to join established businesses. This allows you to join existing businesses and pay only membership fees.
How do you calculate woodworking prices?
The most important thing to remember when calculating costs for any project is to keep them as low as possible. Make sure you're getting the best prices on materials. It is important to take into consideration all factors that can impact the cost of your projects. These include time, skill and experience. Check out our guide on the average cost of common DIY projects to get an idea of how much you can spend on woodwork projects.
What woods can be used to make furniture?
Woods are classified according their hardness. Softwoods include pine, fir, cedar, and cypress. They're often used for outdoor furniture because they don't rot easily. The hardwoods include teak, maple, mahogany and oak. They're generally used indoors because they won't weather well outdoors.
How long does it take for furniture to be finished?
It all depends on what type of wood you use, how complex your design is, and how much finishing you use. Hardwoods, on the other hand, are more durable than softwoods. Hardwoods are also more expensive than softwoods. But they last longer, and resist moisture better. Finishing furniture can take anywhere from one week up to three months.
Where can I get free woodworking plans?
You don't need to purchase any books or magazines to find free woodworking plans. You just need to search Google. Enter "free woodworking", and you will see hundreds upon hundreds of websites offering free plans.
How do I know what type of wood I'm dealing with?
Always verify the label on wood purchases. The label should include information about the wood species and its moisture content as well as whether or not it has been treated using preservatives.
Statistics
- The U.S. Bureau of Labor Statistics (BLS) estimates that the number of jobs for woodworkers will decline by 4% between 2019 and 2029. (indeed.com)
- Most woodworkers agree that lumber moisture needs to be under 10% for building furniture. (woodandshop.com)
- The best-paid 10 percent make $76,000, while the lowest-paid 10 percent make $34,000. (zippia.com)
- Overall employment of woodworkers is projected to grow 8 percent from 2020 to 2030, about as fast as the average for all occupations. (bls.gov)
External Links
How To
How to join wood with no nails
Woodworking is an enjoyable hobby. Woodworking can be a fun hobby because you can work with your hands to make useful objects from wood. There are times when two pieces of wood need to be joined together. This article will teach you how to do this to keep your woodwork projects looking great.
The first thing you'll need to do is cut off any rough edges from your pieces of wood before joining them together. You don't want any sharp corners to cause problems later. Now it's time to start glueing your boards together.
If you are working with hardwood, only one side should be glue. Use glue on both the sides for softwoods, such as cedar or pine. Apply the glue to the boards and press them down until they are securely attached. After applying the glue, let dry the boards before proceeding to the next stage.
After you have glued the boards together, drill holes in the joints where you intend to place screws. You can choose the type of screw to determine the size of your holes. If you are going to use a half-inch wood screw, you will need to drill at least 3/4 inch deep.
Once you've drilled your holes, you'll want to drive the screws through the joint and into the backside of the board. You should be careful not to touch the board's front surface. This could cause damage. Avoid hitting the screws' ends too often when driving screws. This will prevent the wood from splitting.
Once your project is complete, it's time to protect it against the elements. You have two options: seal the whole furniture piece or just the top. Either way, you'll want to use a product that will last for years to come. Oil-based varnishes are, among others, polyurethanes shellac, laquer, and other oil-based products.
These products are available at most home improvement stores. Just make sure that you buy the right kind for the job. Also, remember that some finishes are toxic and should never be used indoors. Protective gear should always be worn when handling these finishes.