A scroll saw shadow box is an excellent way to display artwork or photographs. A small shadow box can create a sense wonder. One simple scene can be created from seven layers 1/4" Baltic Birch plywood. It measures approximately 4 inches square and 1.75 inch thick. The finished piece has small details that add depth and interest. An increase in the size of a shadowbox would require more detail and make it more difficult. The scene in this example is one of the first items on the shadow box's inside.
Fox Classic fence
When building a shadow box with scroll saws, the first thing you should consider is the type and style of fence you will be using. There are many options, including the T shape Shop Fox Classic fence, which is the original fence, as well as the T-slot accessory fence. Shop Fox Classic fences come with a quick-release blade guard and riving knife system. They can be used on normal 120V 20A circuits.
Shop-Fox Classic fencing might be the right choice for you next project. This fence is built to last. The pattern options include the Five Layer Circle Art Scroll Saw Pattern (with a Duck Family Tray Scroll Saw Pattern), the Hanging OrganizerBox and the Four-Layer Jesus Cross. Each pattern includes a video tutorial which will guide you through the process.
Shop Fox Aluma-Classic fence

Shop Fox Aluma Classic is a T shaped accessory fence that works with any shop made scroll saw. The fence is simple to adjust so that you can cut large panels easily. The fence can be wired for an ordinary 120V 20A circuit. It also comes equipped with a 10-inch 40T carbide-tipped knife.
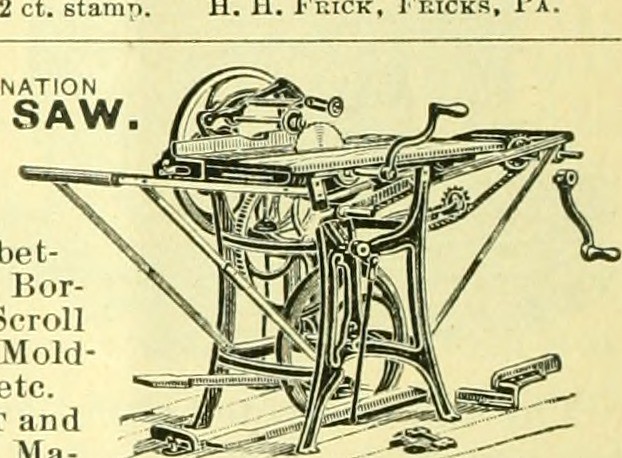
Fox Original Fence
Shop Fox Original fence is an accessory for scroll saws that includes a T-shaped, prewired blade guard system and a riving knife system. It comes with a riving system and a 10 inch x 40T carbide tipped blade. You might start small with scroll sawing if you are new to the art.
FAQ
How can you calculate the woodworking price?
Remember to keep costs as low as you can when calculating project costs. You should always try to make sure that you are getting the best deal on materials. It is important to take into consideration all factors that can impact the cost of your projects. These include time, skill and experience. Our guide to the average household DIY task price will give you an idea of how much it costs to complete different types of woodwork projects.
Where can I purchase woodworking supplies
You can find everything you need in many places. For example, you could visit local hardware stores or look online at websites like Amazon.com.
You can also check garage sales and flea markets for old furniture and other materials you can reuse.
How do I know what tools are best suited for me?
It helps to reflect on your needs and preferences before you shop for tools. Do you prefer metal handles or plastic? What size of nails and screws do your hands use most? Are you comfortable with power tools, or would you rather use hand tools?
How do you know which type of wood you are working with?
When purchasing wood, always check the label. The label should include information about the wood species and its moisture content as well as whether or not it has been treated using preservatives.
What amount of money do I need to get started with my business?
There are no exact numbers because every project is different. But if you want to get an idea of how much money you'll need, consider these factors:
-
Material costs
-
Tools and equipment
-
Time spent working on the project
-
Your hourly rate
-
What amount of profit can you expect to make?
-
Whether you plan to hire help
If you're just starting out, you may decide to start small by making simple items such as boxes and picture frames. You'll become more proficient as you get experience.
Statistics
- In 2014, there were just over 237,000 jobs for all woodworkers, with other wood product manufacturing employing 23 percent; wood kitchen cabinets and countertop manufacturing employing 21 percent. (theartcareerproject.com)
- The U.S. Bureau of Labor Statistics (BLS) estimates that the number of jobs for woodworkers will decline by 4% between 2019 and 2029. (indeed.com)
- The best-paid 10 percent make $76,000, while the lowest-paid 10 percent make $34,000. (zippia.com)
- If your lumber isn't as dry as you would like when you purchase it (over 22% in Glen Huey's opinion…probably over 10-15% in my opinion), then it's a good idea to let it acclimate to your workshop for a couple of weeks. (woodandshop.com)
External Links
How To
How to join wood without using nails
Woodworking is an enjoyable hobby. You can make useful items from wood with your hands, which is both relaxing and fun. There are times when two pieces of wood need to be joined together. This article will teach you how to do this to keep your woodwork projects looking great.
You will first need to trim the edges of your wood pieces before joining them. You don't want to leave sharp corners that could cause problems later on down the road. Now you can start gluing the boards together.
If you are working on hardwood, you should only use glue on one side. Use glue on both the sides for softwoods, such as cedar or pine. Press the boards down until the glue is fully incorporated. Make sure you let the glue dry before moving on to the next step.
Once you've glued your boards together you will need to drill holes in the joints to accommodate screws. Depending on what type screw you choose, the size of these holes will depend on how big they are. If you are going to use a half-inch wood screw, you will need to drill at least 3/4 inch deep.
Once you have drilled your holes you will need to drive the screws through each joint and into the backside. Avoid hitting the board's top surface. Otherwise, you could ruin the finish. Try to not hit the ends of the screws when driving the screws. This will avoid splitting in the wood's ends grain.
You'll need to protect your completed project from the elements. You can seal the furniture pieces or cover the top. You want it to last years, so you can use any product. There are many options: oil-based varnishes; polyurethane; shellac; lacquer.
These products can usually be found at any home improvement store. You should make sure you are getting the right type for the job. Keep in mind that certain finishes can be toxic and should not be used indoors. Always wear protective gear when handling any of these finishes.