Sharpening your wood carving tools will increase your enjoyment of carving. These are the most common ways to sharpen your wood carving tool. Sharp edges are also more durable and last longer than dull ones. Sharp edges will also make it easier to use your tool more efficiently. Sharp edges allow for easier carving and increase the cutting power. Here are three methods for sharpening wood carving tools. Keep reading for more information. - Using a Sharpening Stone.
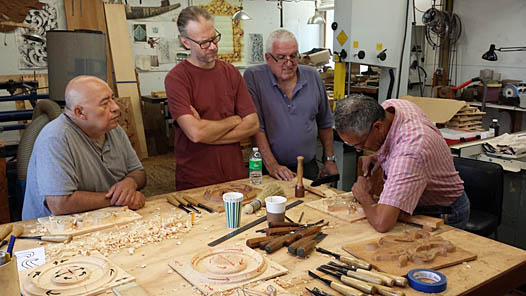
Carving pleasure is enhanced by sharp edges
Sharp tools will not only make carving easier, but sharp edges are essential. Sharp tools are easier to use and allow for more control when carving. The smooth surface of a well-cut blade makes for a smooth cut. Sharp tools are key to a successful carving project. To achieve best results, you should sharpen your carving tools frequently. Regular sharpening will keep them sharp and make your carving work much easier.
While sharp edges may increase the satisfaction of carving, they may cause blisters in the process. Wood's texture is natural and will not be smoothened with regular handling. Although blisters will eventually turn into calluses, this can be painful and time-consuming. Change the way that you hold your tool if blisters appear in your carving. It will take practice, but it is worth it.
When sharpening your knives, begin by using a sharpening kit and a fine-grained stone. Make sure to inspect the edge for damage. Chips around the edge will require more intensive grinding. A dull edge may only require minimal grinding using a finer stone. Test the knife by cutting through paper or rope. You don't need to use a sharpening knife if your knife has been dull for a while.
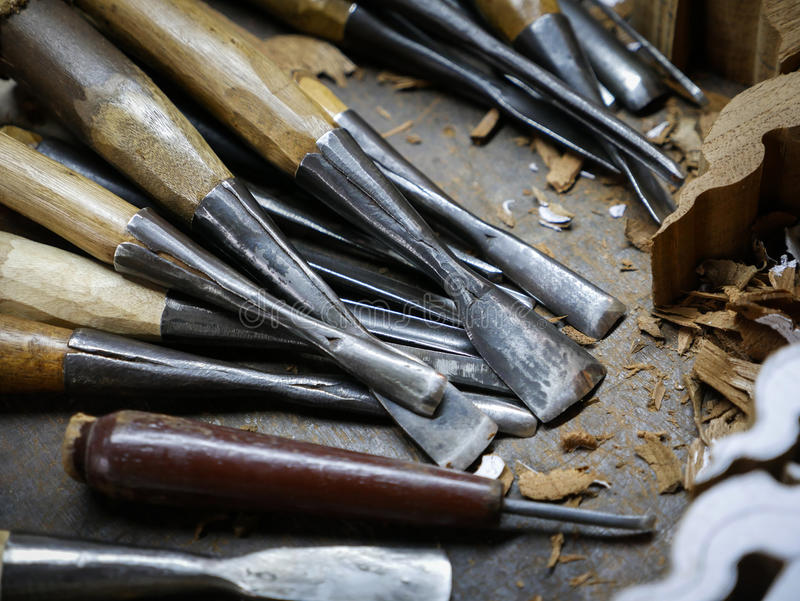
Common techniques for sharpening wooden carving tools
There are many ways to sharpen wood carving tools. There are oil, water, ceramic, and diamond sharpening stone options. Oil stones require oil to apply to the stone's exterior to prevent metal particle embedding in the surface. The best stones for sharpening carbide tools are ceramic and diamond. They don't need oil. This article will cover the most common methods of sharpening wood carving instruments.
The leather strop is used to remove the wire from a blade's edge and polish it. A leather strop can be used for any tool, but some carvers prefer a texture one. A flat leather strop is best for straight tools, or the outside edge gouges. If you're serious about your work, it might be worth investing in a leather strap with grooves.
Traditional bench chisels were sharpened at a 25 degree angle and a secondary bevel of five degrees. Modern alloys may not work well with these angles, and could even crack. Therefore, it is necessary to increase the angle at which the bevel is placed. This will require more force, but you'll have less control. Similarly, block planes are usually sharpened at a 20-degree angle.
Using a sharpening stone
Sharpening stones can be used to make wood carving tools more precise. The stone is made up of grit which is a crystalline mineral that is much harder than steel. It also has sharp edges. A lubricant is required to help the stone cut and prevent metal particles becoming embedded. When your tool has been sharpened to a point that is sharp, it will be easier to use it to cut wood without resistance. The strop, which is typically made of leather, polishes the edge and removes the burr.

There are various types of sharpening stones available in the market. You can choose from oilstones, waterstones or ceramic stones. The oil stones use oil as a lubricant to avoid fine metal particles from burying themselves in the stone surface. Both ceramic and diamond stones don't require any lubricants. They can both be used to sharpen carbide wood carving tools.
The Sentima sharpening stone is a great example of a quality sharpening system. Both a coarse and fine corundum stone are featured in this sharpening system. This material is consistent in grain, which makes it easy to cut and gives it a smooth finish. The unique design makes it easy-to-clean. The sharpening system is made of durable materials and will last for years without degrading in quality.
FAQ
What kind wood should I use for my project?
Oak, maple, cherry and mahogany are the most common wood types used for woodworking. Each type of wood has its own unique characteristics that can affect the final product's appearance. For example, oak tends to be darker and harder than other woods. Birch, which is lighter and soft, is more heavy than mahogany. There are two options: solid wood and veneers. Veneers are thin sheets of wood that are glued together to form a single layer.
How often should new supplies be purchased?
You'll probably have to replace some of your tools over time. You'll need to sharpen your hand tools regularly if you use them. For power tools, replacement parts will be required frequently. Avoid buying too many products at once. Spread your purchases out over several months.
Do you know anything more about woodworking?
It is easy to underestimate the amount work involved with furniture construction. Finding the right wood is the hardest part. There are so many varieties of wood available that choosing one can be difficult.
A problem is that wood doesn't have the same properties. Some woods will crack or warp with time. Others will split or crack. These factors should be taken into account before buying wood.
Where can I locate free woodworking plans
To find free woodworking plans, you don't have to buy any magazines or books. You only need to Google search. Search Google for "free woodworking" to see hundreds of sites that provide free plans.
Which woods are good to use for furniture-making?
Woods are classified according to their hardness. Softwoods are pine, cedar and cypress. They're often used for outdoor furniture because they don't rot easily. You can find hardwoods like oak, maple, mahogany, teak, and others. They are generally indoors as they don't weather well outside.
Can you teach yourself woodworking?
It is best to do it yourself. Woodworking requires patience, practice and skill. To master any craft, it takes time.
You can learn the most effective way to master a skill is by actually doing it. Start small and learn from your mistakes.
Statistics
- Average lumber prices rose about 600 percent between April 2020 and May 2021. (familyhandyman.com)
- Woodworkers on the lower end of that spectrum, the bottom 10% to be exact, make roughly $24,000 a year, while the top 10% makes $108,000. (zippia.com)
- Most woodworkers agree that lumber moisture needs to be under 10% for building furniture. (woodandshop.com)
- The U.S. Bureau of Labor Statistics (BLS) estimates that the number of jobs for woodworkers will decline by 4% between 2019 and 2029. (indeed.com)
External Links
How To
How to drive a nails in wood
To drive a nail into wood, the first step is to select the right size and type hammer. Claw hammers include mallets, claw hammers (sledgehammers), mallets, ball-peen hammers, hatchets, and mallets. Each type of hammer comes with its advantages and disadvantages. For example, a claw hammer works best when you want to hit something hard, like nails; however, it's difficult to control precisely where the blow lands. Although a sledgehammer can be used to hit large areas quickly, it is too heavy to be useful for small tasks.
After selecting the right hammer, you will need to place your hand flat against one side of the head. The handle should rest comfortably in your hands. Grip the handle firmly, but don't squeeze it so tightly that you hurt yourself. You should hold the hammer straight-up, with your wrist still relaxed. Then swing the hammer back toward the ground, aiming for the center of the nail. You should feel the impact of your hammer hitting the nail. Practice swinging your hammer on a block of wooden until you feel comfortable.
The hammer should be held close to your body when you are ready to begin driving the nail. You will need to position the nail so it is parallel to the wood. Keep your attention on the tip. Swing your hammer forward. Then follow through with the motions of the hammerhead. Repeat this action several times, gradually increasing the speed of the swing. After mastering the technique, you can add power to your swings. You can hold the hammer over your shoulder and forcefully bring it down. You will be able to use more energy and put your best foot forward.
Once you have made the first hole, remove your hammer. To remove the remainder of the nails, you can use a screwdriver/pry bar. Keep the nails heads in line with the surface of the board to prevent splitting the wood.