
If you've ever wondered what to do to finish your doors and windows, this is the place for you. There are many important steps to finishing trim. You'll learn how to apply trim correctly and what materials you should use. After mastering these steps, it's easy to apply the trim. These tips will help make this process easy. Whether you're working on a DIY project or tackling a professional one, you'll be well on your way to a beautifully finished door or window.
Techniques
Whether you're a seasoned professional or just a do-it-yourselfer, knowing the proper techniques for finishing trim is essential for a job well done. There are a few tips that will make your job easier. Avoiding common mistakes when trimming is important. Here are some tricks to avoid. These techniques will save you so much time and reduce your headaches.
Tools
The most important tool in any carpentry project is a sharp pencil. A good pencil will do the job when it comes to trimming. A difference of just a third inch can make all the differences between a good or perfect installation. Keep your pencil sharp and buy enough trim to make sure you have enough for your project. Here are 10 tools that you need to finish trim. These tools will make your job a lot easier. Keep in mind, the sharper your pencil, the smoother your trim installation.
Materials
There are many types of finishing trim materials, including synthetic and wood. Some types can be made from plaster or other materials while others can be made out of plastic. Trim can also be called casing or molding. This article will explain the differences between trim types and how to install them. It is important to match trim materials with the decor in your room. In some cases, it may be best to experiment with different materials to determine which will best suit your home's style and color.
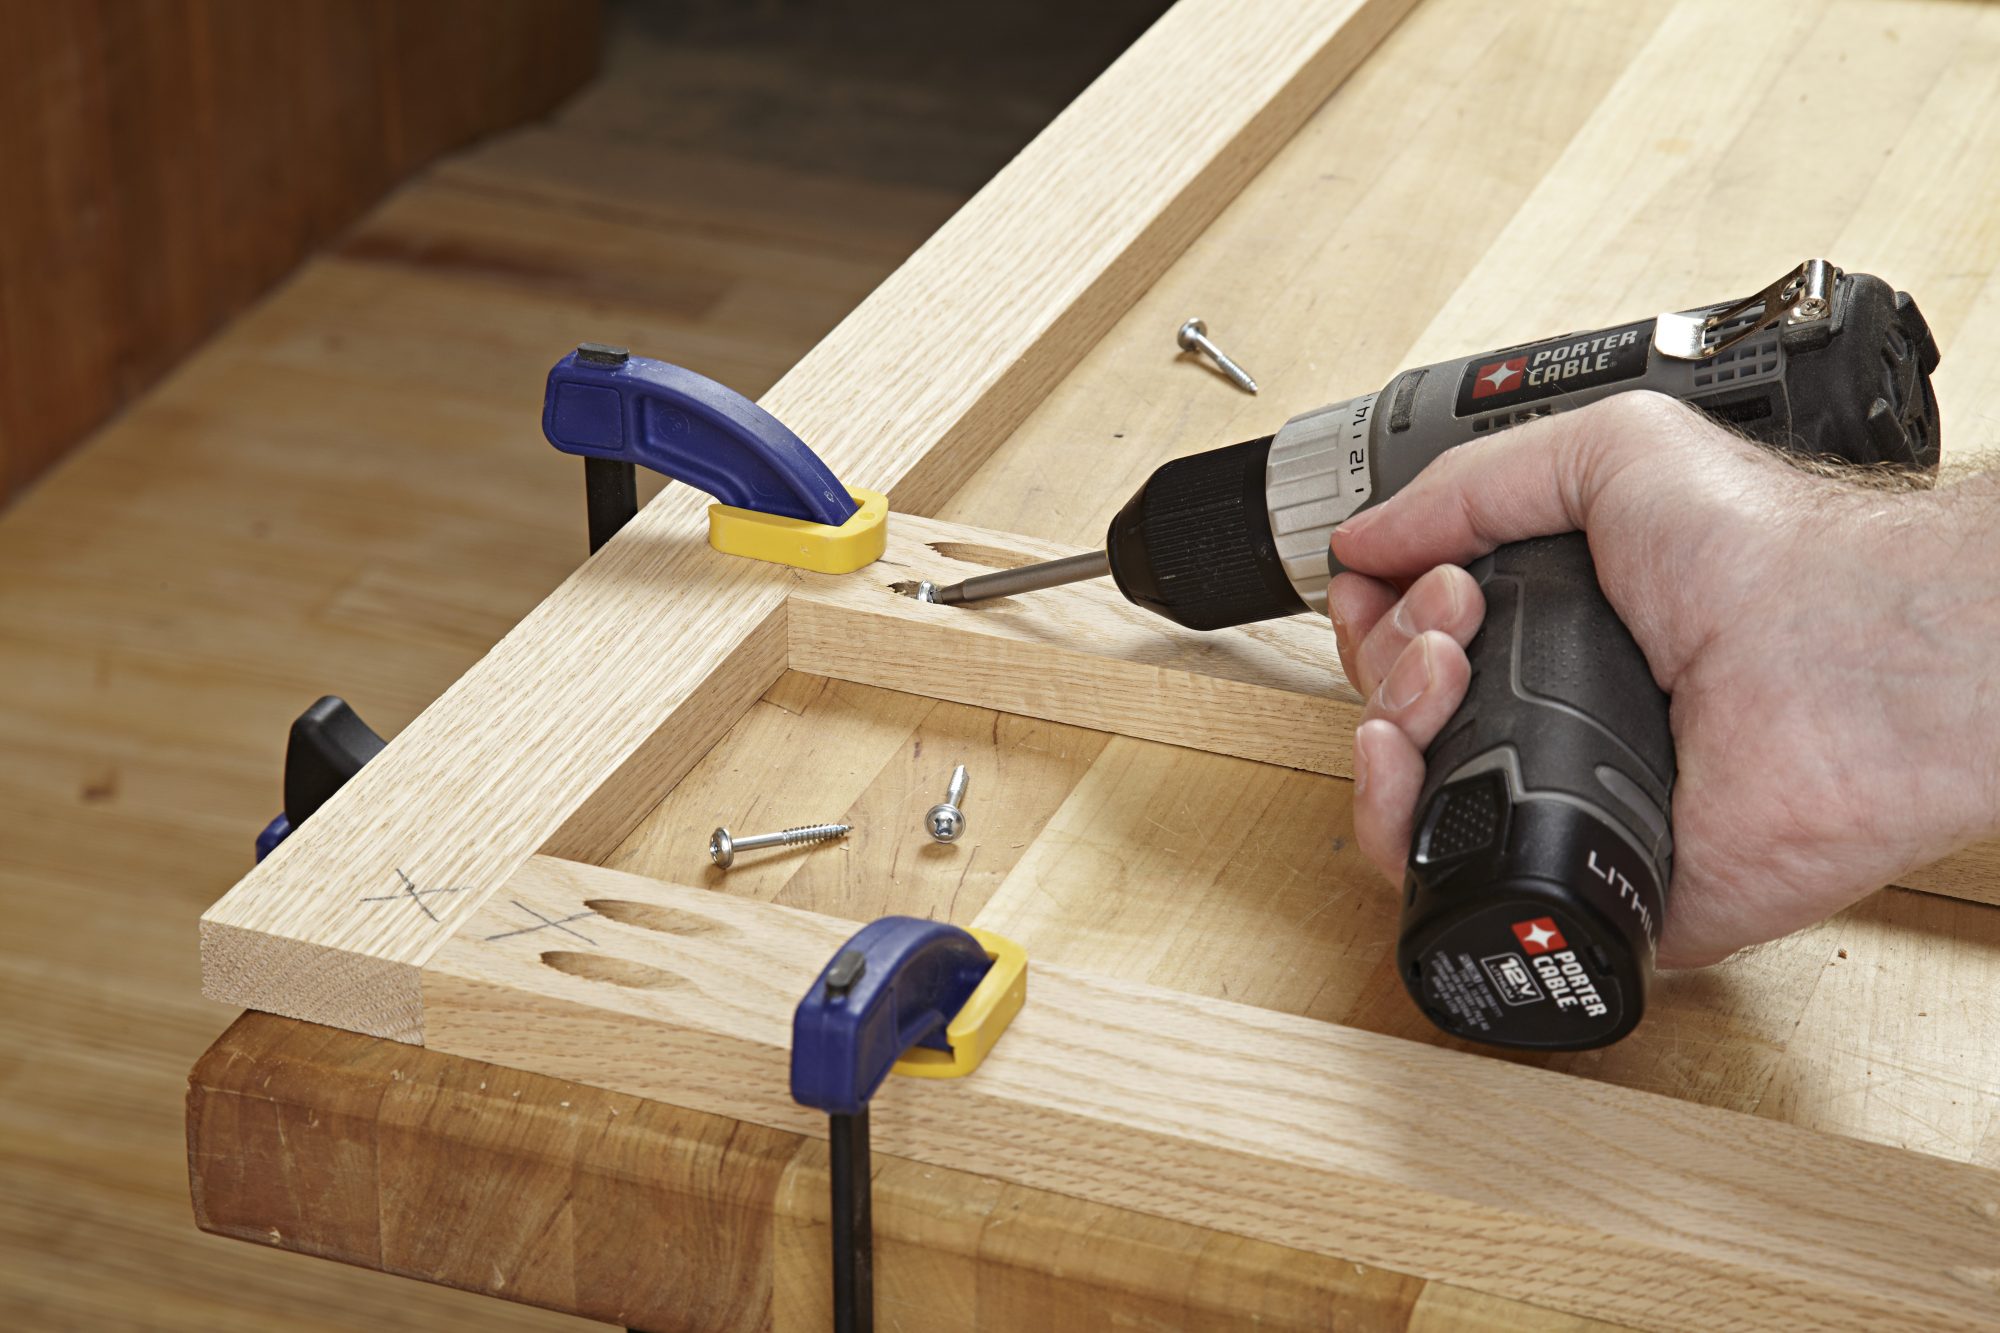
Preparation
There are many things you need to keep in mind when painting. Not only does the preparation affect the final result, but it will also affect the flow of your project. It is important to organize all supplies that you will need and to keep them in an easy-to-reach place. Before you begin the process, make sure to thoroughly clean all supplies. These tips will help prepare trim properly. After cleaning your trim, apply the final coat.

Selecting a finish
There are three basic paint finishes for wood trim: satin, semi-gloss, and high gloss. Each one has a unique look. The color of the trim and overall design of your house will influence which paint finish you choose. Below are some tips to help you choose the best paint finish for your home. We've listed the three most popular paint finishes for wood trim to assist you in choosing the right finish. Read on for an in-depth comparison of each finish.
FAQ
What woods are suitable for making furniture?
Woods are classified by their hardness. Softwoods are pine, cedar and cypress. Because they are resistant to rot, softwoods are often used as outdoor furniture. You can find hardwoods like oak, maple, mahogany, teak, and others. They can't withstand the elements outside so they're best kept indoors.
How much will it cost to get started?
Because every project is unique, there aren't exact numbers. Consider these factors if you need to estimate the amount of money that you will require.
-
Materials cost
-
Tools and equipment
-
Time spent working on the project
-
The hourly rate
-
What is your expectation for profit?
-
No matter if you are looking to hire someone
If you're just starting out, you may decide to start small by making simple items such as boxes and picture frames. You'll become more proficient as you get experience.
What tools are used by carpenters?
Carpenters most often use a tool called a hammer. A hammer is used for pounding nails into wood. They can also use it to hold the pieces together as they work on a project. Other tools include clamps. pliers. screwdrivers. measuring tape. pencils. saws. drills. wrenches.
Are you able to teach yourself woodworking
The best way to learn anything is by doing. Woodworking is an intricate art form that requires practice, skill, patience, and experience. Any craft requires patience to master.
The best way to learn how to do something is actually to do it. Start small and then build upon what you've learned.
What is the difference in plywood and particleboard?
Plywood consists of layers made from wood and pressed together by pressure. Plywood comes in several thicknesses and is commonly used for cabinets and flooring. Particle board is made up of sawdust mixed in resin, then compressed into large pieces. It's often used for home renovation projects. Both types are sturdy and easy to cut.
How long does it take to finish a piece of furniture?
It depends on the type of wood you choose, the complexity of the design, and the amount of finishing you apply. For example, hardwoods require more maintenance than softwoods. Hardwoods also tend to be more expensive than softwoods. They are more durable and can withstand moisture better. Finishing furniture can take anywhere from one week up to three months.
What time does it take for furniture to be finished?
It depends on the size of the piece of furniture. You can finish smaller projects, such as boxes or picture frames, in one day. Larger projects, such as desks and dining tables, can take several days. It takes time and effort to properly stain the wood.
Statistics
- Average lumber prices rose about 600 percent between April 2020 and May 2021. (familyhandyman.com)
- The best-paid 10 percent make $76,000, while the lowest-paid 10 percent make $34,000. (zippia.com)
- Woodworkers on the lower end of that spectrum, the bottom 10% to be exact, make roughly $24,000 a year, while the top 10% makes $108,000. (zippia.com)
- Overall employment of woodworkers is projected to grow 8 percent from 2020 to 2030, about as fast as the average for all occupations. (bls.gov)
External Links
How To
Here are some tips on how to drive nails in wood
To drive a nail into wood, the first step is to select the right size and type hammer. There are many types of hammers that you will find: claw hammers and sledgehammers; mallets; ball peen hammers; and hatchets. Each type of hammer comes with its advantages and disadvantages. A claw hammer is best for hitting nails or hard objects. However, it can be difficult to pinpoint exactly where the blow will land. The sledgehammer works well for large areas, but is too heavy for smaller tasks.
After choosing the right hammer, place your hand flat against the side of the head so that the handle rests comfortably in your palm. Grab the handle tightly, but do not squeeze too hard. You should hold the hammer straight-up, with your wrist still relaxed. Swing the hammer back towards the ground, with your aim at the middle of the nail. The impact of the hammer hitting the nail should be felt. You can practice swinging the hammer with a block or wood until you feel the rhythm.
You can now drive the nail by holding the hammer to your body. Place the nail so that it is perpendicular with the wood's surface. Keep your attention on the tip. Then, swing the hammer forward. Next, follow the motion of your hammerhead. This can be repeated several times to increase the speed of your swing. Once you've mastered the technique, try adding power to your swings. Hold the hammer high above your shoulders and pull it down. This will help you put more energy behind each of your moves.
Once you have made the first hole, remove your hammer. You can then remove the rest of the nails using a prybar or a screwdriver. Keep the nails heads in line with the surface of the board to prevent splitting the wood.