If you've ever wondered how to finish your doors or windows, you've come to the right place. There are many important steps to finishing trim. You'll learn how to apply trim correctly and what materials you should use. After mastering these steps, it's easy to apply the trim. Here are some tips to make the process as easy as possible. It doesn't matter if your project is DIY or professional, you'll be on your way to creating a stunning door or window.
Techniques
Whether you're a seasoned professional or just a do-it-yourselfer, knowing the proper techniques for finishing trim is essential for a job well done. Here are some tips to help you get your project done quickly. The most important tip is to avoid common mistakes novices make when trimming. Here are some ways to avoid making common mistakes when trimming. These techniques will save you so much time and reduce your headaches.
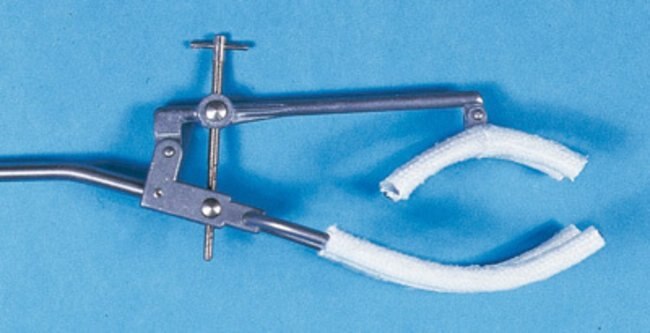
Tools
Sharp pencils are essential tools in any carpentry endeavor. A good pencil is worth its weight in gold when finishing trim. Just a third of an inch can make all the difference between a good installation and a perfect one. Be sure to sharpen the pencil and purchase enough trim to ensure you have enough for your job. Here are 10 essential tools for trimming the ends. These tools will make your job easier! Keep in mind, the sharper your pencil, the smoother your trim installation.
Materials
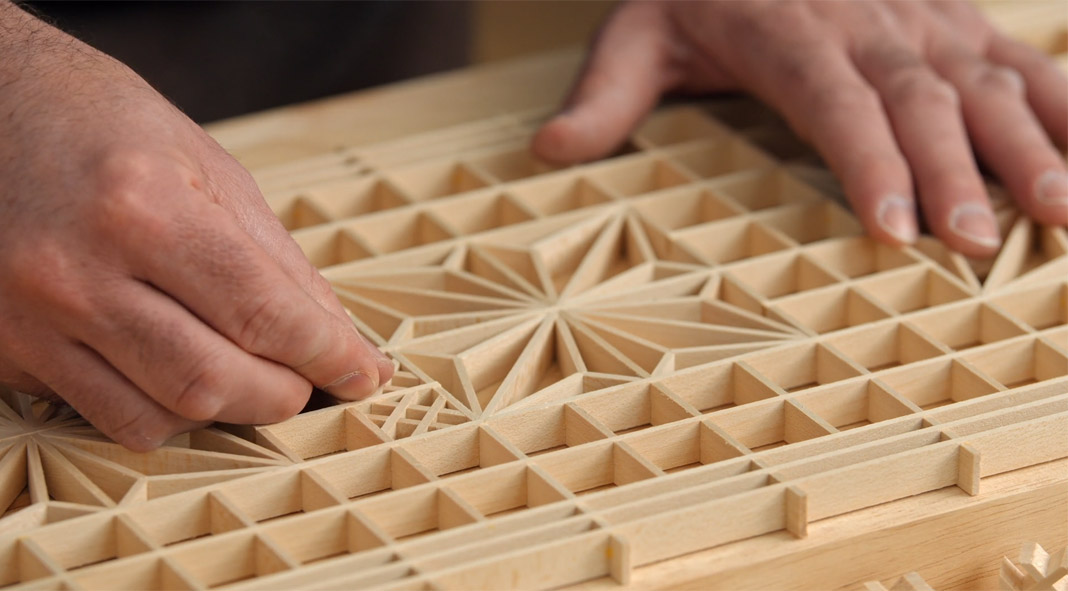
There are many different types of materials for finishing trim, including wood and synthetic materials. Some types of trim are made from plaster and other materials. Other types are made out of plastic. Trim is sometimes referred to by the names casing and molding. This article will provide information on the various types of trim as well as how to properly install them. It is important to match trim materials with the decor in your room. In certain cases, it might be worth trying different materials to determine which is the best match for your home's style.
Preparation
There are many things you need to keep in mind when painting. The preparation of your project will not only affect its final outcome, but it can also impact the flow of the project. It is important to organize all supplies that you will need and to keep them in an easy-to-reach place. After gathering all necessary supplies, clean them well before starting the process. These tips will help prepare trim properly. After you've cleaned your trim, you can begin applying the final coat.

Choosing a finish
There are three types of wood trim paint: semi-gloss or high gloss. Each gives off a different look. Your house's overall look and trim color will play a role in deciding which color to choose. These are some tips that will help you select the best paint finish to match your home. We have listed the top three paint finishes for wood trim to make it easier to choose a finish. The detailed comparisons of each finish are available below.
FAQ
Where do I start with woodworking?
The best way to learn how to build furniture is by building furniture. While you will need tools and make mistakes, you will eventually master the art of building furniture.
Start by choosing a project you'd like to complete. You could make something as simple or complex as a box. Or you could build a whole entertainment center. Once you've settled on a project find a local skilled woodworker. Ask them for suggestions on the tools you will need and where to buy them. Ask if you can find someone who does this kind work.
Are you a genius in order to master woodworking?
No. Woodworking is not rocket science. Anyone can learn to use basic powertools and techniques to create beautiful work of art.
What types of woods are best for furniture making?
Woods are classified based on their hardness. Softwoods include cedar and pine as well as cedar and cedar. They're often used for outdoor furniture because they don't rot easily. The hardwoods include teak, maple, mahogany and oak. Because they are not weather-resistant, they are best used indoors.
How long does it take you to finish a piece?
It depends on what size piece of furniture you have. A smaller project like picture frames or boxes can be completed in a single day. Larger projects such as tables and desks can take several days to complete. It takes time in order to properly stain or seal the wood.
Where can I purchase hardwood lumber?
Home Depot offers hardwood lumber. They carry a variety of wood products such as flooring, cabinets, and furniture.
A large variety of engineered hardwoods is available to them, including Ipe (Araucaria Angustifolia), Brazilian Cherry and Peau d'Arco.
You can search Google for hardwood lumber to find them online.
What tools should you start with to become a woodworker
Woodworking is an art that takes patience and practice. It takes time for you to master the different techniques and tools that are required to woodwork.
There are many options for woodworking equipment today. Some people prefer using power tools while others prefer hand tools.
The choice is yours, but you must ensure you choose the right tool for the job. You might start with a simple set of tools if you don't have much experience.
Another option is to learn how to use a router, which is used for cutting intricate shapes into wood. These routers can be purchased at most hardware and home improvement stores.
Is it possible to open my own woodworking shop?
Starting your own woodworking business isn't easy. There are many regulations and legal requirements that you will need to comply with. However, it doesn't necessarily mean you must go through all the hassle of setting up a business. Many people join already-established businesses. You will only have to pay membership fees, taxes, and other charges.
Statistics
- Woodworkers on the lower end of that spectrum, the bottom 10% to be exact, make roughly $24,000 a year, while the top 10% makes $108,000. (zippia.com)
- Average lumber prices rose about 600 percent between April 2020 and May 2021. (familyhandyman.com)
- In 2014, there were just over 237,000 jobs for all woodworkers, with other wood product manufacturing employing 23 percent; wood kitchen cabinets and countertop manufacturing employing 21 percent. (theartcareerproject.com)
- The U.S. Bureau of Labor Statistics (BLS) estimates that the number of jobs for woodworkers will decline by 4% between 2019 and 2029. (indeed.com)
External Links
How To
How to stain wood
Staining wood can be described as a process where chemicals are applied to the wood surface. This causes the wood to take on a new color. This chemical reaction causes wood to turn from whiteish to brownish. Oak is the most common wood type for staining. However, you can also use other wood types.
There are many ways to stain wood surfaces. You can mix the stain with a solvent, such as turpentine, and spray it onto the wood. Another method involves applying a solution of water to the wood. You can mix stains into varnishes or paints to make them part of your finish coat.
The first step in staining wood is preparing the surface. Cleaning the wood thoroughly removes any dirt or grease that could interfere with applying the stain. Sanding smoothens scratches and rough spots. The next step is to determine the type of stain you would like to use. There are two types of stains that can be used: penetrating and non-penetrating. Penetrating stain penetrates deeper into wood than nonpenetrating, making them suitable for dark colors like mahogany. The best non-penetrating colors are those that work with light colors like maple.
Once you have decided on the stain type that you want, get your tools ready. Because you can spread the stain evenly with a paintbrush, it is ideal for applying them. You should also have some handy rags to wipe up excess stains after you finish painting. You should have enough containers to store the various components of the stain mixture if you intend to mix it yourself.
After you have prepared your materials, clean the area you intend to stain. Use soap and warm water to remove dust and grime. Wipe the entire piece of furniture with a rag dampened with clean water. Take care to remove all debris and dirt, especially if you are planning on staining darker wood.
Next, apply the stain. Begin at one end and spray or brush the stain on the wood. Slowly and carefully work your way along the grain to reach the opposite end. Make sure that the stain does not drip off the edge of the wood. Allow the stain to dry completely before you move on to the next step.
Clear polyurethane is used to protect the painted surfaces. Three coats are recommended for polyurethane. Allow the third coat to dry overnight, before sanding.